베하~~
안녕하세요 항상 웃음이 나는 픠식팀 입니다.

지난 포스팅에서 Ansible Playbook 과 Inventory 에 대해서 알아보았습니다.
이번 포스팅에서는 playbook 과 Inventory를 사용하여 Ansible을 통해 Node서버에 Wordpress설치를 한번 해보겠습니다.
(Playbook 과 Inventory를 자세히 알고 싶으면 아래 링크에서 확인하실수 있습니다. )
Playbook - https://btcd.tistory.com/1141
[Ansible] Ansible Playbook이란
베하~~ 안녕하세요 항상 웃음이 나는 픠식팀 입니다. 이번 포스팅에서는 Ansible Playbook이 무엇인지에 대해 알아보도록 하겠습니다. Ansible Playbook이란? Ansible playbook은 Ansible을 사용한 IT 인프라 자동
btcd.tistory.com
Inventory - https://btcd.tistory.com/1148
[Ansible] Ansible Inventory
베하~~ 안녕하세요 항상 웃음이 나는 픠식팀 입니다. 지난번에는 Playbook에 대해서 알아 보았으니 이번에는 Inventory에 대해서 알아 봅시다~ Ansible Inventory란? 인벤토리는 RPG 게임을 해보셨으면 한
btcd.tistory.com
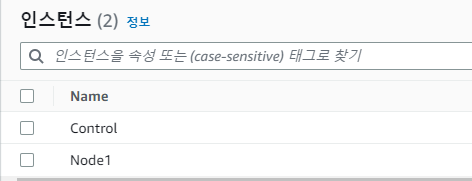
우선 실습을 위해 AWS 에 EC2 2대를 설치해 줍니다. (OS 는 Amazon Linux2를 사용하였습니다.)

먼저, Control 인스턴스에 Ansible을 설치해 줍니다.
[설치 및 버전확인]
sudo amazon-linux-extras install ansible2 -y
ansible --version
설치하고 버전을 확인해 보았습니다. Ansible이 작동되는지 간단한 명령어로 확인해 보겠습니다.
[테스트]
ansible localhost -m ping
다음으로 Inventory를 작성하여서 Node1 인스턴스에 Ansible로 관리가 가능한지 테스트 해보겠습니다,
[Inventory 작성]
sudo vim /etc/ansible/hosts

[web:vars]
ansible_ssh_private_key_file=/home/ec2-user/pingtest.pem
ansible_user=ec2-user

[web]
172.31.44.172
~
다음으로 Node1 인스턴스에 Ansible 로 ping이 보내지는지 확인해보겠습니다,
[테스트]
ansible web -m ping
ping 이 정상적으로 되는것을 확인했습니다.
자 이제 Inventory작성을 완료하고 Ansible로 관리가 가능하다는 것을 확인했습니다.
다음으로 Playbook을 작성하여 Node1인스턴스에 Ansible을 통해 WordPress를 설치해보겠습니다.
[Playbook- wordpress]
- name: WordPress Installation Playbook
  hosts: web
  become: yes
  tasks:
    - name: Update yum cache
      yum:
        name: '*'
        state: latest
      become: yes

    - name: Install Apache
      yum:
        name: httpd
        state: present
      become: yes

    - name: Start and enable Apache service
      service:
        name: httpd
        state: started
        enabled: yes
      become: yes

    - name: Install MySQL server and client
      yum:
        name: mariadb-server
        state: present
      become: yes
    - name: Start and enable Mysql
      service:
        name: mariadb
        state: started
        enabled: yes
         become: yes


    - name: Install PHP 7.2
      yum:
        name: "php"
        state: present
        disable_gpg_check: yes
      become: yes

    - name: Install PHP 7.2 modules
      yum:
        name: "{{ item }}"
        state: present
      become: yes
      with_items:
        - "php-mysqlnd"
        - "php-curl"
 - "php-gd"
        - "php-xml"
        - "php-mbstring"

    - name: Restart Apache
      service:
        name: httpd
        state: restarted
      become: yes

    - name: Download and extract WordPress
      unarchive:
        src: https://wordpress.org/latest.tar.gz
        dest: /var/www/html/
        remote_src: yes
      become: yes

    - name: Set ownership and permissions for WordPress
      file:
        path: /var/www/html/wordpress
        state: directory
        owner: apache
        group: apache
        mode: '0755'
      become: yes

       - name: Copy the WordPress configuration file
      copy:
        src: /var/www/html/wordpress/wp-config-sample.php
        dest: /var/www/html/wordpress/wp-config.php
        owner: apache
        group: apache
        remote_src: yes
      become: yes

    - name: Configure the WordPress database settings
      lineinfile:
        path: /var/www/html/wordpress/wp-config.php
        line: "{{ item }}"
        state: present
      become: yes
      with_items:
        - "define('DB_NAME', 'test');"
        - "define('DB_USER', '');"
        - "define('DB_PASSWORD', '');"
        - "define('DB_HOST', 'localhost');"
        - "define('DB_CHARSET', 'utf8');"
        - "define('DB_COLLATE', '');"
	- name: Remove default Apache index.html file
      file:
        path: /var/www/html/index.html
        state: absent
      become: yes

    - name: Restart Apache
      service:
        name: httpd
        state: restarted
      become: yes
Playbook을 통해 Apache-php-mariadb를 설치 한후 wordpress설치를 진행하였습다.
Playbook을 시행해본 결과
ansible-playbook wordpress.yamlphp버전이 맞지 않다는 오류가 떳습니다.
또 다시 Playbook을 통해 php 버전을 올리는 play를 작성해 실행시켰습니다.
[Playbook -php]
- name: PHP Upgrade Playbook
  hosts: web
  become: yes
  tasks:
    - name: Remove existing PHP packages
      yum:
        name: "*php*"
        state: absent
      become: yes

    - name: Enable PHP 7.4
      command: amazon-linux-extras enable php7.4
      become: yes

    - name: Install PHP 7.4 and required modules
      yum:
        name: "{{ item }}"
        state: present
      become: yes
      with_items:
        - "php"
        - "php-cli"
        - "php-common"
        - "php-devel"
        - "php-fpm"
        - "php-gd"
        - "php-mbstring"
        - "php-mysqlnd"
        - "php-opcache"
        - "php-pdo"
        - "php-xml"
	 - name: Restart Apache
      service:
        name: httpd
        state: restarted
      become: yes
Node1 인스턴스에서 확인결과 php 버전이 업그레이드 된걸 확인하였습니다.

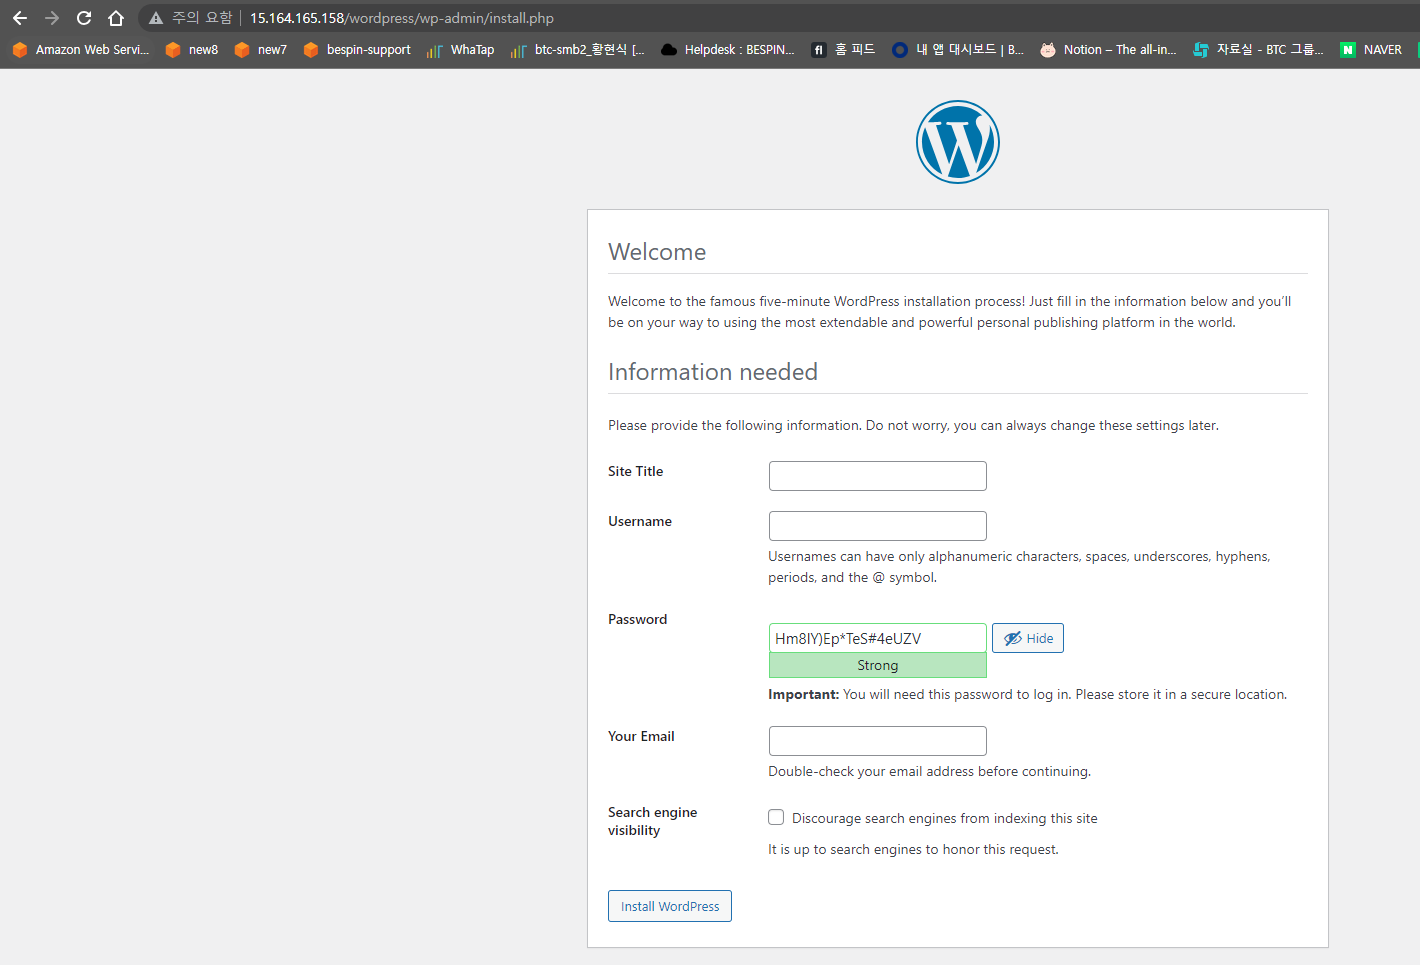
그런다음 인터넷을 통해 접속을 확인하였습니다.

Wordpress 설치 화면과 함꼐 화면이 뜨는것을 확인할 수 있습니다.!
이상으로 Inventory와 Playbook을 통해 Wordpress를 설치하는 실습을 해보았습니다.

다음 포스팅떄는 더 좋은 내용으로 찾아뵙겠습니다. 다음에 만나요~~~~
'INFRA > Operation' 카테고리의 다른 글
| 그라파나 Alert 설정하기 (0) | 2023.07.21 |
|---|---|
| 그라파나 대시보드 및 패널 설정 (0) | 2023.06.23 |
| [Ansible] Ansible Inventory (1) | 2023.06.09 |
| 배포 전략 - Rolling, Blue/Green, Canary (0) | 2023.06.08 |
| [Ansible] Ansible Playbook이란 (1) | 2023.06.08 |


댓글